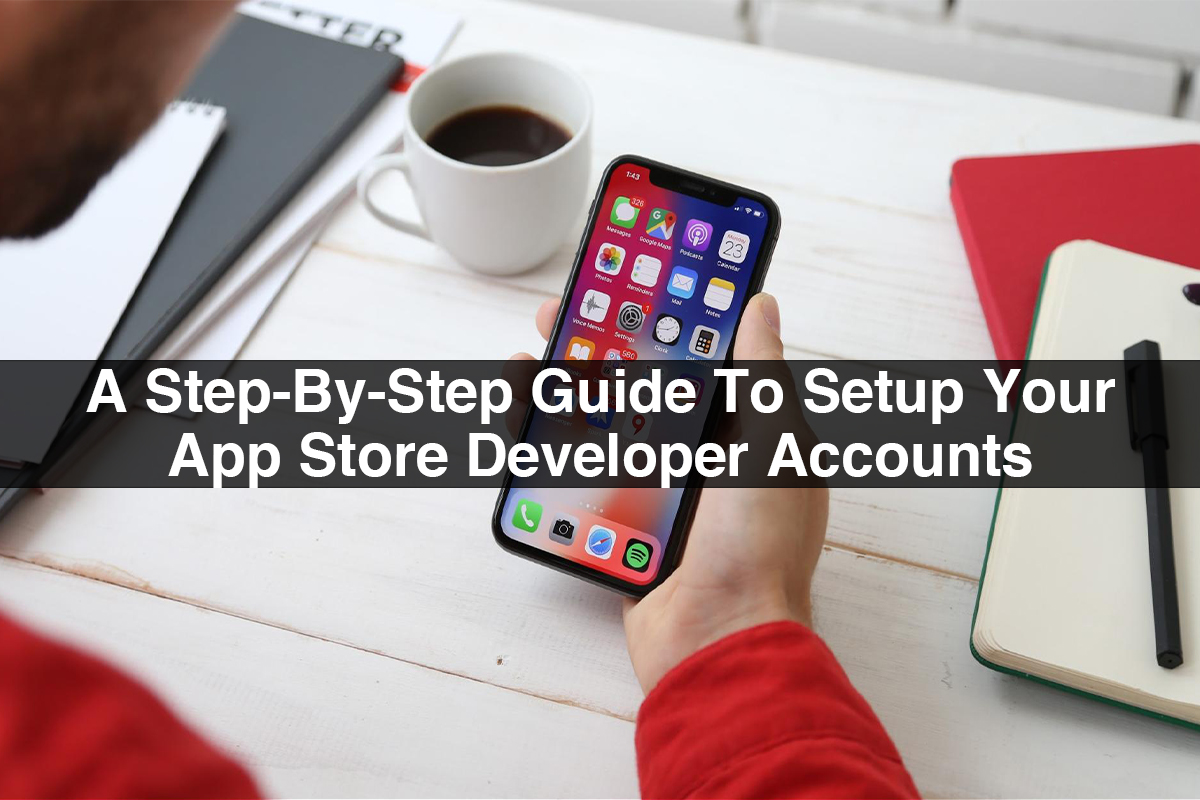
A Step-By-Step Guide To Setup Your App Store Developer Accounts
The app store developer account enables you to publish your app on the app store for iOS users. But make sure while you submit your app to the App Store properly is an important first step to ensure exposure and trap customers to download. Here we discuss A Step-By-Step Guide To Setup Your App Store Developer Account.
How to create an app store developer account?
Step 1: Go to Apple’s developer website and click on create an Apple ID
- if you don’t already have one and set up two-factor authentication for your account
- Go to https://developer.apple.com/
- Then click on “Account” at the top of the page.
This will take you through the process of creating an Apple ID which will permit you to log-in to your Apple developer account once generated.
If you already have an Apple ID created that you’d like to use, go ahead and log-in with that Apple ID. Once you have created your Apple ID, you will also want to allow two-factor authentication on it which is a requirement by Apple for all Apple IDs.
Step 2: Click “Join the Apple Developer Program”
Once you’ve logged-in, or created a brand new Apple ID and have logged-in with it at app store developer you’ll see a link titled “Join the Apple Developer Program”.
This will take you to a web page wherein Apple tells you all approximately the developer program. You can examine thru this in case you want, however as soon as you’re geared up click on the “Enroll” button.
According to Apple, what you want earlier than you join is:
Enrolling as an individual
If you’re a person or sole proprietor/single man or woman business, check-in together along with your Apple ID to get started. You’ll require to give basic personal data, containing your legal name and address.
Enrolling as an organization
If you’re enrolling your organization, you’ll require an Apple ID as well as the following to get started:
A D-U-N-S® Number
Your enterprise ought to have a D-U-N-S Number in order that we are able to test your enterprise’s identification and prison entity status. These unique nine-digit numbers are assigned by Dun & Bradstreet and are briefly used as standard business identifiers. You can take a look at to peer in case your organization already has a D-U-N-S Number and request one if required.
Legal entity status
Your organization ought to be a legal entity in order that it may input into contracts with Apple. We do now no longer take delivery of DBAs, fictitious businesses, alter names, or branches.
Legal binding authority
As the person Registering your firm withinside the app store developer program, you need to have the legal authority to bind your firm to legal agreements. You ought to be the organization’s owner/founder, executive group member, senior project lead, or have legal authority granted to you through a senior employee.
Step 3: verify that your email address, name, and Country location is correct, then select the type of account that you’re enrolling.
Next, you’ll be asked to confirm your email address, name, and country location then choose the account that you’re going to enroll as.
Step 4: Enter your contact information and read through the agreement at the bottom of the page.

In the next screen you’ll be asked to fill out the contact information for your account:
After that, you’ll be asked to read through the app store developer account contract. Read through this then check the checkbox validating that you’ve read it, and click Continue.
Step 5: validate that all the previously entered data is correct then go to click continue.
Step 6: Confirm ‘Purchase’ to sign up and pay on your every year iOS Developer Account.
Don’t forget to verify the Automatic Renewal box if you need your membership to be automatically renewed.
Step 7: Sign in together along with your Apple ID and fill to your billing information.
Then click on keep to finish the setup of your iOS Developer Account.
Step 8: Add your billing information then click Continue to complete your payment.
Step 9: Fill out the read of the statistics at the intending screens.
Within 24 hours, Apple must send you an e-mail confirming that your Apple Developer Account has been created.
Step 10: Upgrade your plan in our system.
After you’ve got created your app store developer account and have finished your enrollment in the program, go back to our system to promote your app to one of our paid plans. You can achieve this via way of means of clicking at the button subsequent to your app’s name with inside the pinnacle right-hand corner of the app dashboard.
Step 11: Enter your app’s details in the Publishing data section of the app dashboard.
Now that you Have upgraded to certainly considered one among our paid plans and feature installation your app store developer account, in the App Dashboard visit Settings -> Publishing Info and fill out the Apple-specific facts on your app.
Conclusion

Once you have sent your app off to our publishing team To post to Apple and Google you’ll want to attain out to us at [email protected] in order that we will install a time for our publishing group to name and acquire the two-step authentication code that’s generated while we tackle to get admission to your account.
This because of the requirement with the aid of using Apple that every one app store developer money owed wants to have two-step authentication enabled in them. Once we’ve got the right approach on your account we’ll be capable of put up the app for you.


